

Today we made a miniature puppet theatre and painted little people.
Hours and hours of creative fun.


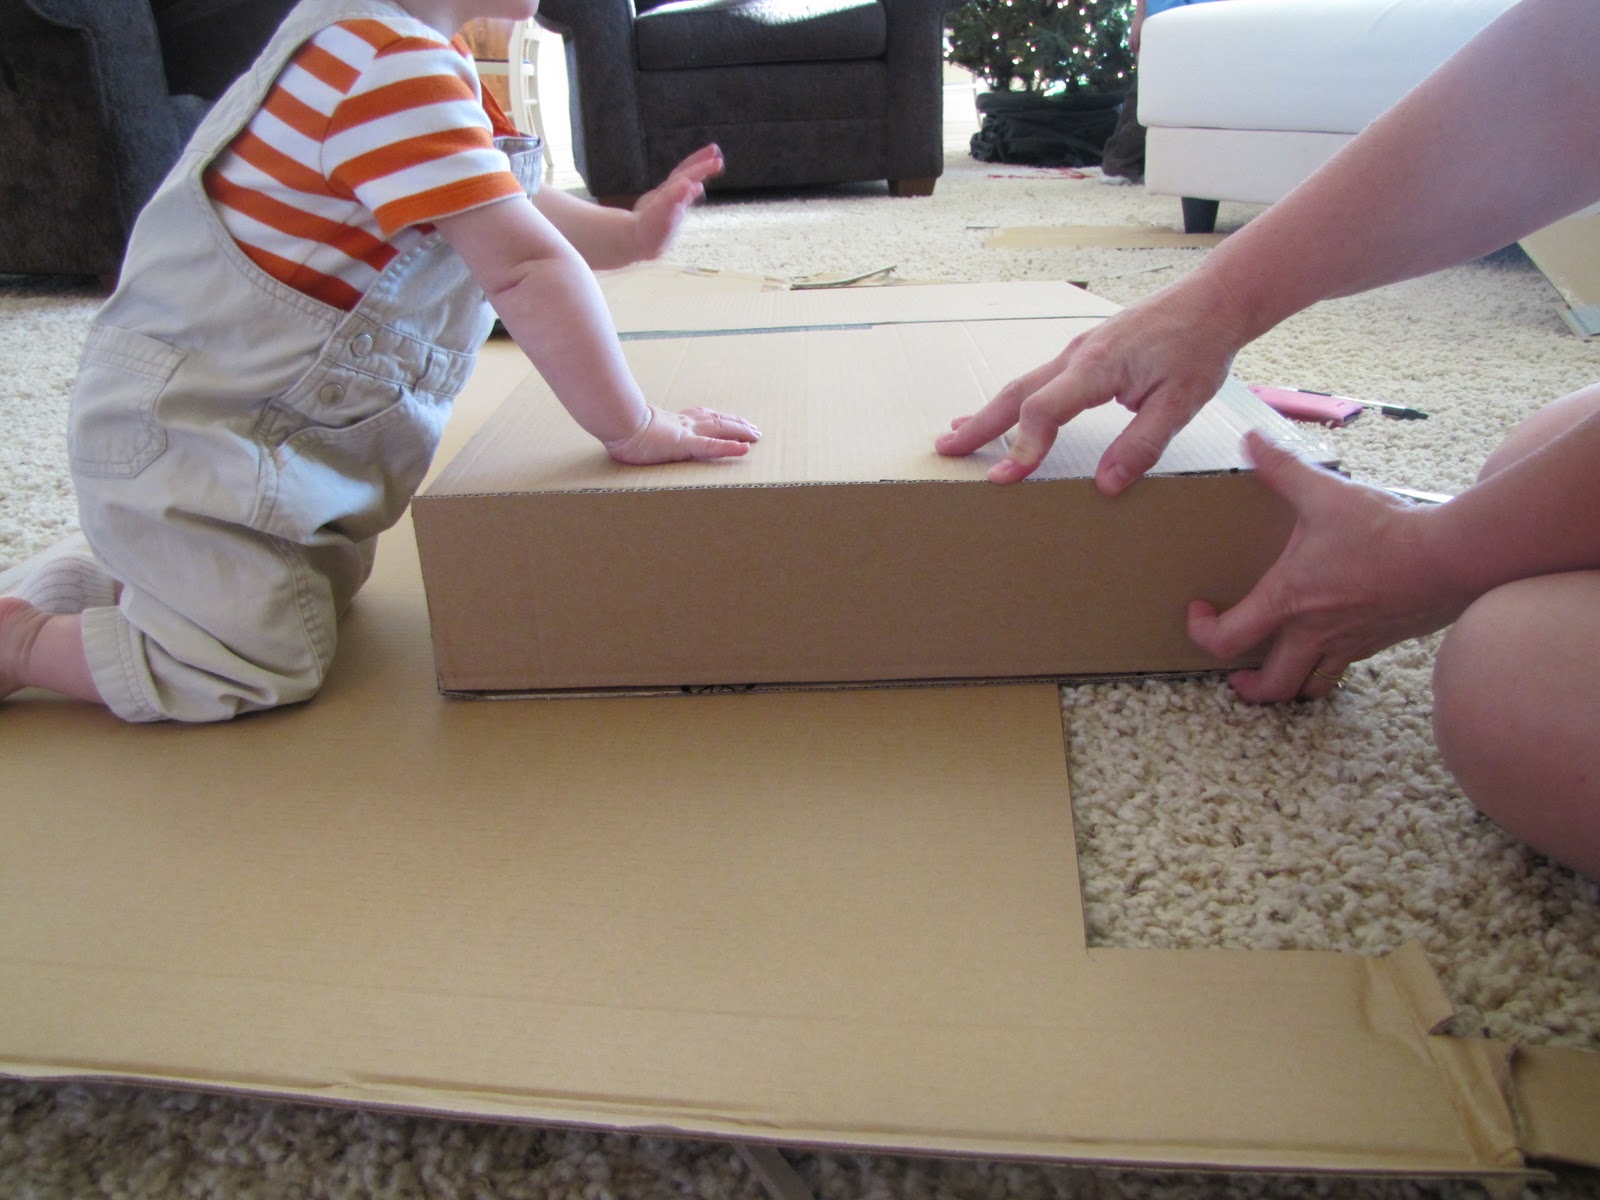
I started out with a packing box of thin cardboard, a ruler, pencil, Exacto knife (with a lot of blades),
and tape. And a glue gun at the end to add the trim if you want to cover the tape.

Figuring in my head about how large I wanted it to be (based on the height of my grandson)
I cut out the base, made a support for inside and taped it all together securely


Based on how tall I wanted it to be I cut out and attached the back
securely with tape.

Based on the back height I then cut out the two front sides of the stage


Next cute out and attach the top.
Using a lot of tape is the secret. (You can cover the tape later if you want to)


I used more detailed cut out pieces to cover up most of the tape and give it character.
Here's the finished theatre and my job is done.
And now Eric's job begins!
Acrylic Painting FUN!!!


Eric's very own Puppet Theatre!
Now, let's paint some wooden people.


And cut out some puppets


Hours and hours of fun -
We are going on 8 hours and the excitement hasn't faded one bit.
This creative craft is a hit!
What I learned:
- After watching Eric play with this toy all day the best part are the front embellishments on each side of the stage because they formed a trap that he could drop his painted men in to and then dump them out. A castle with traps and hiding places would be a fun project.
- Use plenty of tape and make it sturdy so it can withstand vigorous play.
- Don't make it to large.
2 comments:
This is the cutest idea I have seen. dArLINg!.
Thank you Ali! So much fun to create with Grandkids! and thanks for your comment.
Post a Comment